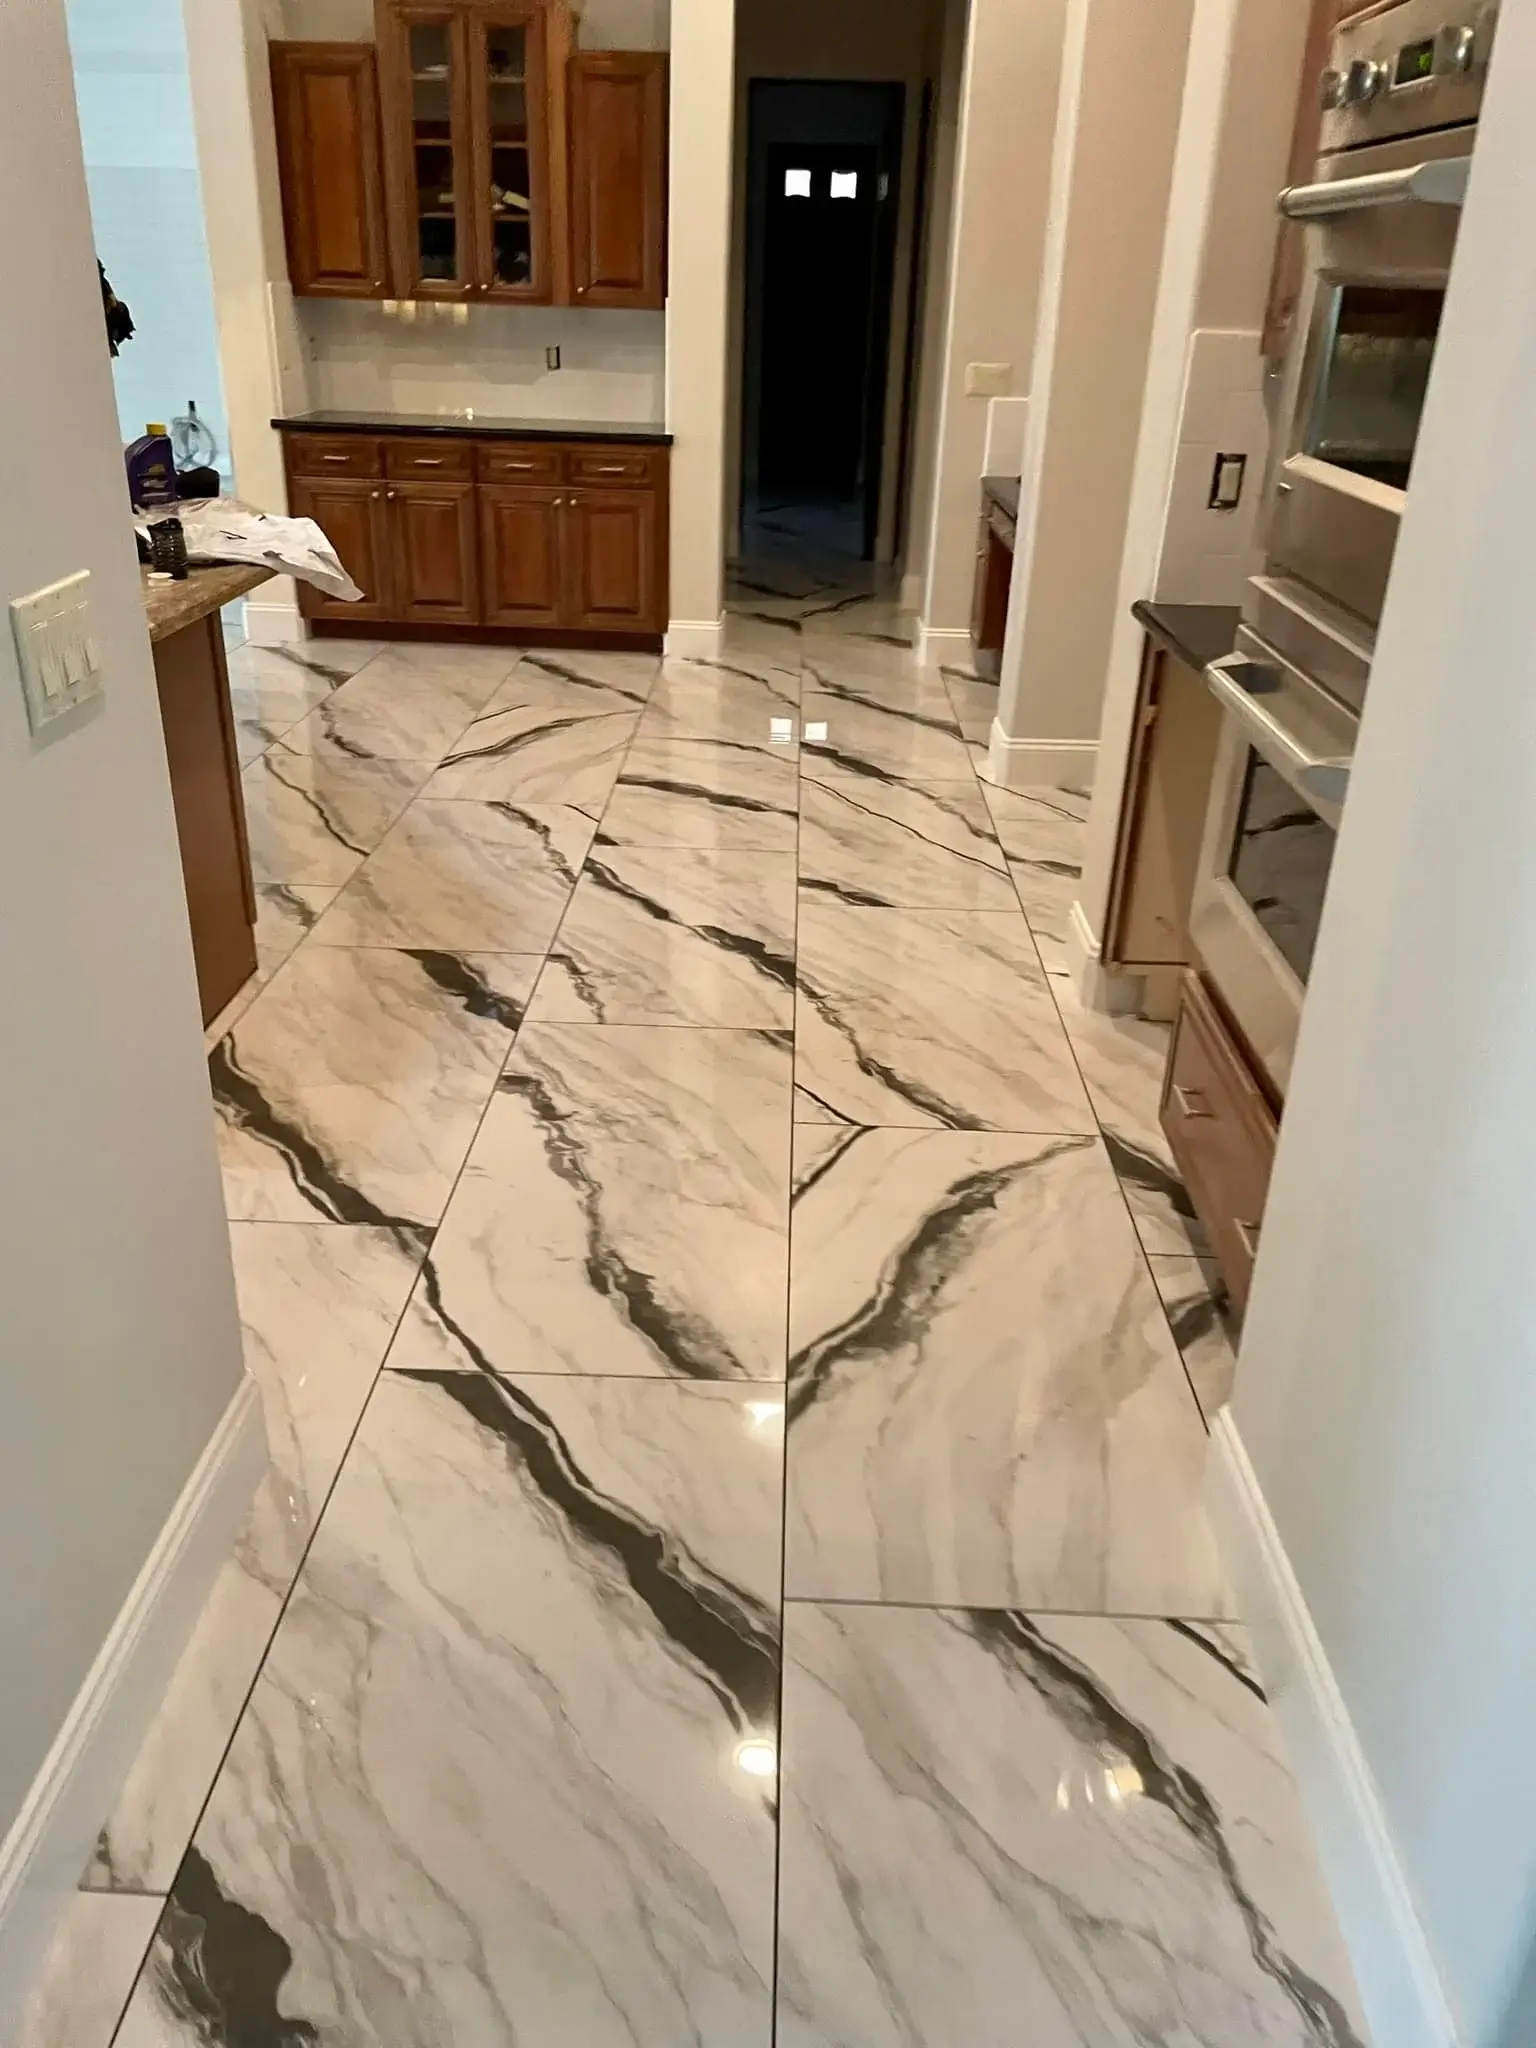
Porcelain Tile Installation in Tempe & Maricopa County
Professional porcelain tile installation across Tempe and Maricopa County. Crack isolation membrane, slab leveling, large-format expertise, and proper waterproofing for wet areas.
Tired of These Frustrations?
If any of this sounds familiar, you are in the right place.
Uncertain Quality
Big-box stores and online options make it hard to know if a floor will actually look good and last in your home.
We bring real samples to your home so you choose in your own lighting.
Weeks-Long Timelines
Other contractors string flooring projects out for weeks while your home stays in chaos.
Most installations completed in 3 days, scheduled within a week of signing.
Contractor Horror Stories
Missed deadlines, hidden fees, and sloppy work plague the flooring industry.
Licensed (ROC #336899 & #349964), bonded, and we communicate at every step.
Porcelain tile is the longest-lasting flooring material we install. A properly installed porcelain floor can outlive the homeowners who paid for it — 30, 40, even 50 years of service in heavy-traffic areas. The catch is that “properly installed” is doing a lot of work in that sentence. Porcelain tile failures are almost always installation failures, not material failures. Zona Floors installs porcelain tile across Tempe, Mesa, Chandler, Scottsdale, Gilbert, and the rest of Maricopa County, and we do it the way the Tile Council of North America says to.
If you’re still researching whether porcelain is right for your project, our porcelain and ceramic tile guide covers the product itself, and our blog has a detailed comparison of porcelain versus ceramic tile for Arizona homes. This page covers our installation service — what we do, why it lasts, and where homeowners get burned by cheaper contractors.
What Makes Porcelain Tile Installation Different
Three things separate a 30-year tile floor from one that cracks in year two:
Substrate flatness. Large-format tile (anything 15 inches or larger on a side) requires a substrate flat to within 1/8 inch over 10 feet — half the tolerance of LVP. Most Arizona slabs are nowhere near that flat. Self-leveling compound is non-negotiable on most porcelain jobs.
Crack isolation. Arizona soil moves with seasonal moisture changes, and that movement transfers up through the slab into anything rigid. Without an uncoupling membrane between the slab and the tile, slab cracks become tile cracks. Schluter Ditra, RedGard, and similar anti-fracture systems are part of every quality porcelain install on slab-on-grade Arizona homes.
Mortar coverage and thinset technique. Porcelain has near-zero water absorption — which means thinset can’t soak into the back of the tile to grip it. The trowel size, mortar consistency, and back-buttering technique all matter. We get 95%+ mortar coverage on every tile. Spot-bedding (the “four corners and a dab in the middle” shortcut) is how tiles end up hollow, cracked, and loose two years in.
We do this right because porcelain is unforgiving when you don’t.
Our Porcelain Tile Installation Process
1. Free In-Home Consultation
We bring tile samples to your home so you can see colors, finishes, and patterns in your actual lighting. We walk through size options — standard 12x24 versus 24x24 large-format versus slab-style 24x48 versus mosaic accents — and explain how grout color and joint width change the visual feel. We also identify whether your project needs extra substrate work, waterproofing, or plumbing coordination.
2. Substrate Assessment & Written Estimate
Before we quote, we measure slab flatness across the rooms in scope, document any visible cracks, and check moisture levels. We tell you whether you need self-leveling compound, what kind of crack isolation membrane fits your slab condition, and whether the existing transitions and doorways will work with the new tile height. The written estimate itemizes every layer — demo, leveling, membrane, tile, mortar, grout, sealer, trim. No surprises.
3. Demolition & Substrate Prep
Old flooring comes up cleanly. If we’re tiling over an existing tile floor (sometimes a viable shortcut), we test the bond and grind the surface to accept new mortar. If we’re going to slab, we grind off old mortar, vacuum and clean, then check flatness. Self-leveling compound goes down where needed and cures fully before any membrane goes over it. Our guide on why subfloor leveling matters covers this stage in detail.
4. Crack Isolation / Anti-Fracture Membrane
The membrane gets bonded to the slab with thinset, rolled flat, and given proper cure time before tile goes down. For most Arizona homes we use Schluter Ditra or a comparable uncoupling membrane — it isolates the tile from slab movement and provides a built-in vapor management layer. Liquid-applied anti-fracture coatings like RedGard work for some applications, especially smaller wet areas.
5. Thinset Bedding & Tile Setting
Thinset is mixed to manufacturer specification, never thinned out for easier troweling. We use the trowel size called for by the tile manufacturer — typically a 1/2-inch square-notch for large-format porcelain. Every tile gets back-buttered to ensure full coverage, and leveling clips hold edges flush during cure. Cuts are made on a wet saw with a diamond blade — no chipped edges, no sloppy cuts at perimeters.
6. Grouting & Sealing
Tile cures for 24 hours minimum before grouting. We use the right grout for the joint — unsanded for joints under 1/8 inch, sanded for wider joints, epoxy grout for showers, kitchens, and any high-stain area. After grout cure (typically 24–72 hours depending on product), we apply a penetrating sealer to grout joints (unless the grout is epoxy, which doesn’t need sealing).
7. Final Inspection & Cleanup
We check every tile for lippage, every grout joint for color uniformity, every transition for clean finish. The crew hauls all debris off-site and leaves the room ready to use. You walk on the floor in 24 hours for foot traffic, 48 for furniture.
Where Porcelain Tile Works Best
- Bathrooms — Floors, shower pans, shower walls, tub surrounds. Porcelain’s water absorption under 0.5% makes it ideal for wet areas
- Kitchens — Easy to clean, scratch-resistant, doesn’t stain like natural stone
- Entryways and mudrooms — Handles tracked-in dirt, sand, and water
- Outdoor covered patios — Rated for freeze-thaw cycles and direct sun
- Open-plan main living areas — Large-format porcelain creates seamless flow between rooms
Custom Tile Showers
A significant portion of our porcelain work is custom tile showers — full builds from waterproofing up. That includes shower pan mortar beds with proper slope, Kerdi or equivalent waterproofing membrane, niche framing and sealing, bench construction, and tile layout that hides cuts at the least-visible edges. Our custom tile shower installation process guide walks through what’s involved start to finish.
Why Arizona Homeowners Choose Zona Floors
We have completed over 350 flooring installations across the Greater Phoenix area, with a significant portion of those involving porcelain tile. We are licensed by the Arizona Registrar of Contractors (ROC #336899, CR8 Floor Covering classification), bonded, and fully insured. Thumbtack Top Pro 2023, 2024, and 2025. Active members of the Tempe and Chandler Chambers of Commerce.
Ready to get started? Schedule a free in-home consultation or call 480-939-0208. We schedule most new projects within one week.
What's Included
Our Process
Free In-Home Consultation
We bring tile samples and walk through size, finish, grout color, and pattern options. We also identify whether your room needs additional substrate work.
Substrate Assessment & Estimate
Slab flatness, moisture, and crack history all affect tile installation. We measure and document everything before we quote.
Demolition & Substrate Prep
Old flooring removal, slab grinding or self-leveling, and installation of crack isolation membrane or backer board as the project requires.
Tile Setting & Grouting
Thinset bedding, proper coverage on each tile, leveling clips on large format, and grouting after 24+ hours of cure. Final sealing follows grout cure.
Why Choose Zona Floors
Large-Format Tile Expertise
12x24, 24x24, 24x48, and slab-style porcelain are the modern standard. We have the flatness tools and trowel technique to install them right.
Crack Isolation for AZ Slabs
Arizona slabs move. Every porcelain installation includes the right anti-fracture membrane for the room — Schluter Ditra, Strata Mat, or RedGard, depending on conditions.
Wet-Area Waterproofing
Shower pans, tub surrounds, and bathroom floors get true waterproofing — not just water-resistant backer board. Kerdi membranes, sealed niches, and proper sloping included.
Licensed, Bonded & Insured
Arizona ROC #336899 (CR8 Floor Covering). Years of tile and stone work behind every install.
Get Started with a Free Estimate
We bring physical samples to your home, provide a transparent itemized quote, and can schedule your project within a week. No obligation, no hidden fees.
Our Guarantee
Beat-or-Match Any Price
We guarantee to beat or match any competitor's quote for the same scope of work.
Recent Projects
What Our Customers Say
The crew showed up on time and demoed 750sqft of tile in one day. They finished a 4-day job in 2.5 days. We're very pleased with our floors and would highly recommend them.
Will H.
Verified Google Review
Zona Floors is the best of the very best. Top notch quality and over the top service. They are true professionals and the absolute best in the business.
Dave P.
Verified Google Review
Frequently Asked Questions
01 How long does porcelain tile installation take?
02 Do I need crack isolation membrane in Arizona?
03 What's involved in large-format tile installation?
04 Can porcelain tile go in showers and on shower walls?
05 How much does porcelain tile installation cost?
06 What about grout — sanded, unsanded, or epoxy?
Related Services
Ready to Get Started?
Schedule your free in-home estimate. We bring samples, give you a transparent quote, and can start within a week.